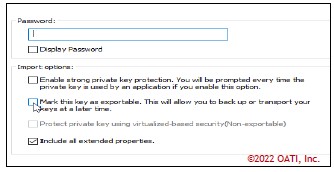
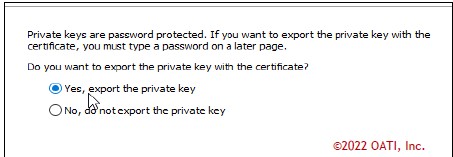
A: When importing a certificate, you will be asked if you can make it exportable. This allows it to be exported again later on after it’s installed.
A: When importing your certificate, install on the “Current user”.
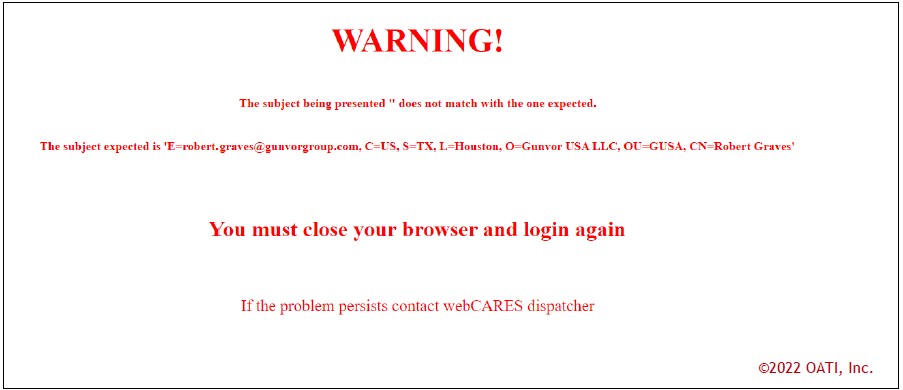
A: If the error shows the subject being presented as empty quotes (i.e., “”) then check to make sure the “Cancel” button is not being clicked at the certificate prompt during the login process.
This will cause the website to see that no certificate has been sent. To make the certificate prompt come up again:
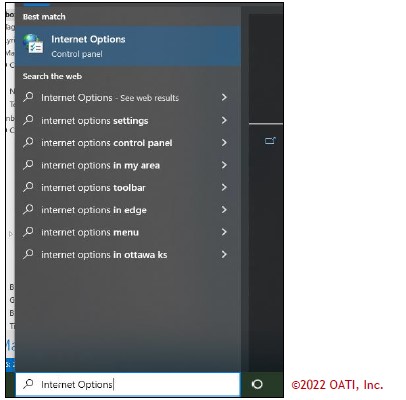
1. From the Tools menu, or the Gear icon in the upper right hand corner of Internet Explorer (pressing the “Alt” key on the keyboard may be needed to display the menu bar), choose Internet Options.
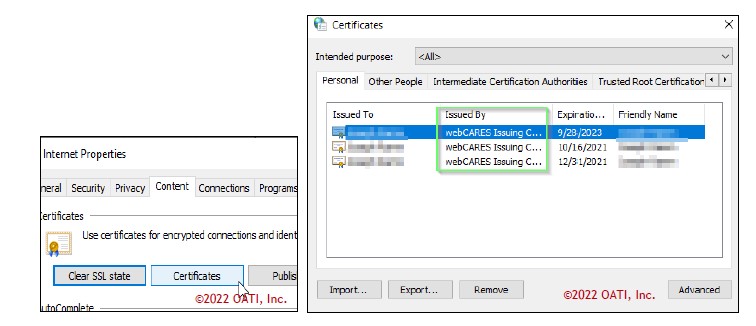
2. Go to the Content tab.
3. Click on the “Clear SSL State” button.
Try reinstalling the Certificate (.pfx file) following the steps in Section 9 of this manual.
If no certificate prompt appears and the message still appears, the certificate may need to be reinstalled in the browser.
A: This is due to either trying to log in on a non-secure login page or using an incorrectly cached password. Please change the login page URL from http:// to https:// and manually type in your username
and password and try again. Remember that user IDs and passwords are case sensitive.
A: Each Certificate is linked to a specific login user ID. This message is generated because the login User ID attempted did not match the Digital Certificate selected during the login process.
Please close all browser windows and log in again with a Certificate that is linked to the user ID.
A: A certificate is the actual file that you download and install which is used to login to applications. There is no payment required to renew a certificate.
On the other hand, a Contract allows you to have X number of end user or security officer certificates. You have to have available certificates on a contract (active contract) in order to
issue them out. You can also manage your existing certificates. For example, if there are active certificates that are not needed, you can revoke that certificate. Revoking the certificate will open up a certificate on a contract.
Depending on the contract, they generally expire after two years (unless the Contract is related to an OATI Service). End user/SO Certificates are also available for two years which generally creates confusion.
There is also general confusion on the emails that a Security Officer receives. The emails will notify if a certificate or a contract are expiring.
A: There is a grace period from the date a contract expires and when the certificate is revoked and is unusable. Like mentioned in the previous question, a contract is needed in order to issue certificates for your entity.
If a contract expires, the certificates associated will be revoked 56 days after contract expiration. In addition, the Security Officer will receive weekly email notifications 7 weeks before expiration and daily email
notifications 8 weeks after expiration. After 56 days, the emails will stop and the certificate will be automatically revoked.
A: There are many ways, but we suggest you find a secure method (i.e. using a file share).
A: If it failed, it is recommended to close the browser, reopen, login and try again. If it happens again, reach out to OATI Support by email or phone (OATISupport@oati.net or 763-201-2020).
A: Close your browser completely and open it back up. Do not use a bookmark, type in the web address – https://www.oaticerts.com. If you still do not receive a certificate prompt, check to see if it is installed.
Generally, the Security Officer Certificate Name will be your first and last. You can check by going to the Windows Search > Internet Options > Content > Certificates.
A: A Security Officer cannot renew another Security Officer’s Cerificate.
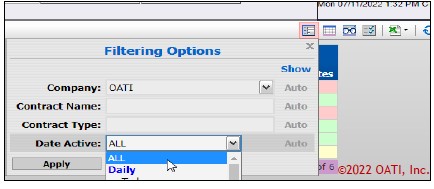
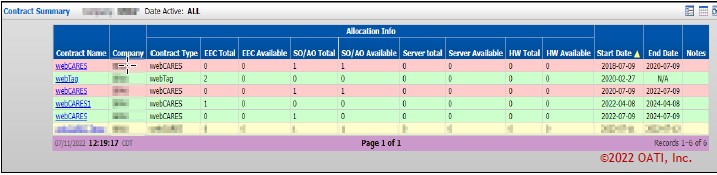
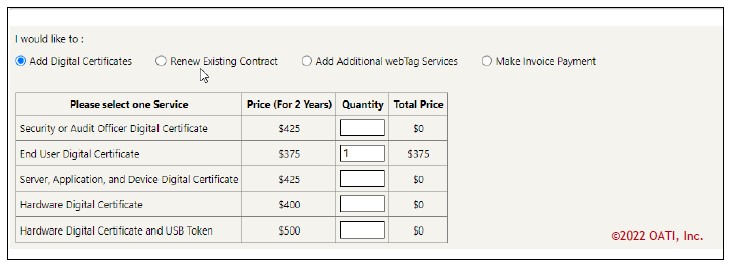
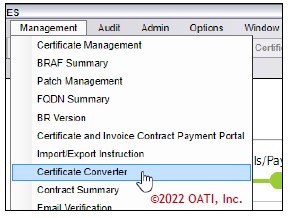
A: If you do not have any Certificates available, you will have to purchase additional. To check if you have any available, go to Management > Contract Summary. You may need to set the Time Active Filter to ALL.
A: If you purchased a certificate, it should be available right away. Common issues that tend to happen is a Security Officer renews an Old Contract. Another issue that happens is they renew an active contract, then the
new contract will become active upon the current active contract expiring
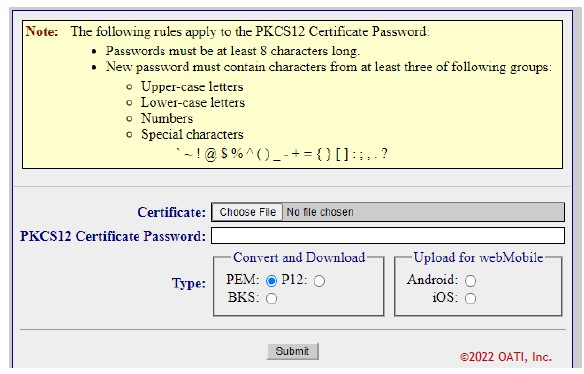
A: To convert your certificate to a .pem, P12, or BKS, use the Certificate Converter (Management to Certificate Converter).
A: You must fill out the current version of the Business Representative Application Form (BRAF). This can be found in the User Guide page (Options > User Guide). This needs to be filled out, scanned, and then emailed to BRAFNotify@oati.net.
A: webCARES is Chrome compatible. IE should not have to be used.
A: If this needs to be for a Security Officer, a BRAF will need to be filled out and emailed to BRAFNotify@oati.net which then will be verified and processed.
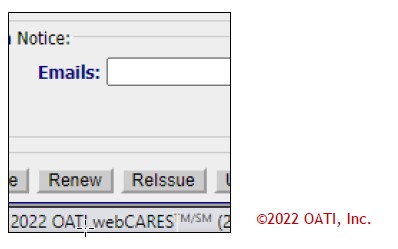
If this is for an end user certificate, you can revoke the certificate and then Reissue
A: Ultimately, both create a new certificate file. The difference is that reissuing a certificate allows you to change the common name and email on a certificate as renewing the certificate only renews the certificate.
In order to reissue, a certificate has to be either Expired or Revoked in order for this option to appear.
A: Apple is not supported by OATI webCARES.
A: if you wished to be invoiced, please reach out to Finance@oati.net.